There’s nothing quite like discovering damage to your bath. Whether it’s a chip from a dropped shampoo bottle, a dent you just noticed, or a scratch that’s been annoying you for months, bath damage is frustrating – especially when you’re staring at thousands of dollars for a replacement.
Here’s what most people don’t know: the vast majority of bath damage is repairable. Not with a DIY patch that looks obviously different, but with professional repair that makes the damage no longer the first thing you see.
Let’s talk about what causes bath damage, how to prevent it, and what to do when accidents happen.
Understanding Your Bath Type
Different baths are susceptible to different types of damage:
Acrylic Baths
- Most common in Australian homes
- Lightweight and retain heat well
- Can chip, crack, or scratch
- Generally very repairable depending on the extent of the damage
Enamel Steel Baths
- Heavy and durable
- Enamel can chip (exposing metal underneath)
- Scratches and rust spots possible if left exposed
- Suitable for repair
Cast Iron with Enamel
- Traditional and long-lasting
- Heavy and extremely durable
- Can chip or crack the enamel coating
- Very repairable when enamel is chipped
Fibreglass Baths
- Budget-friendly option
- Can crack, chip, or fade
- Often repairable depending on extent of the damage
Stone Resin Baths
- Modern luxury option
- Often very heavy and hard to replace
- Can chip or crack
- Professional repair can be highly effective
Common Causes of Bath Damage
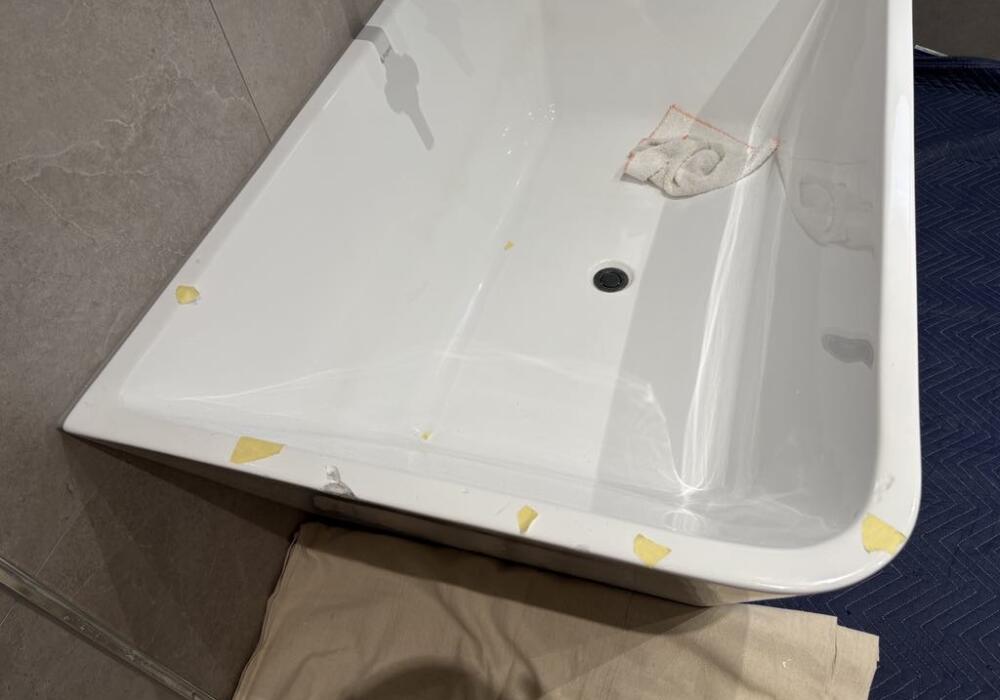
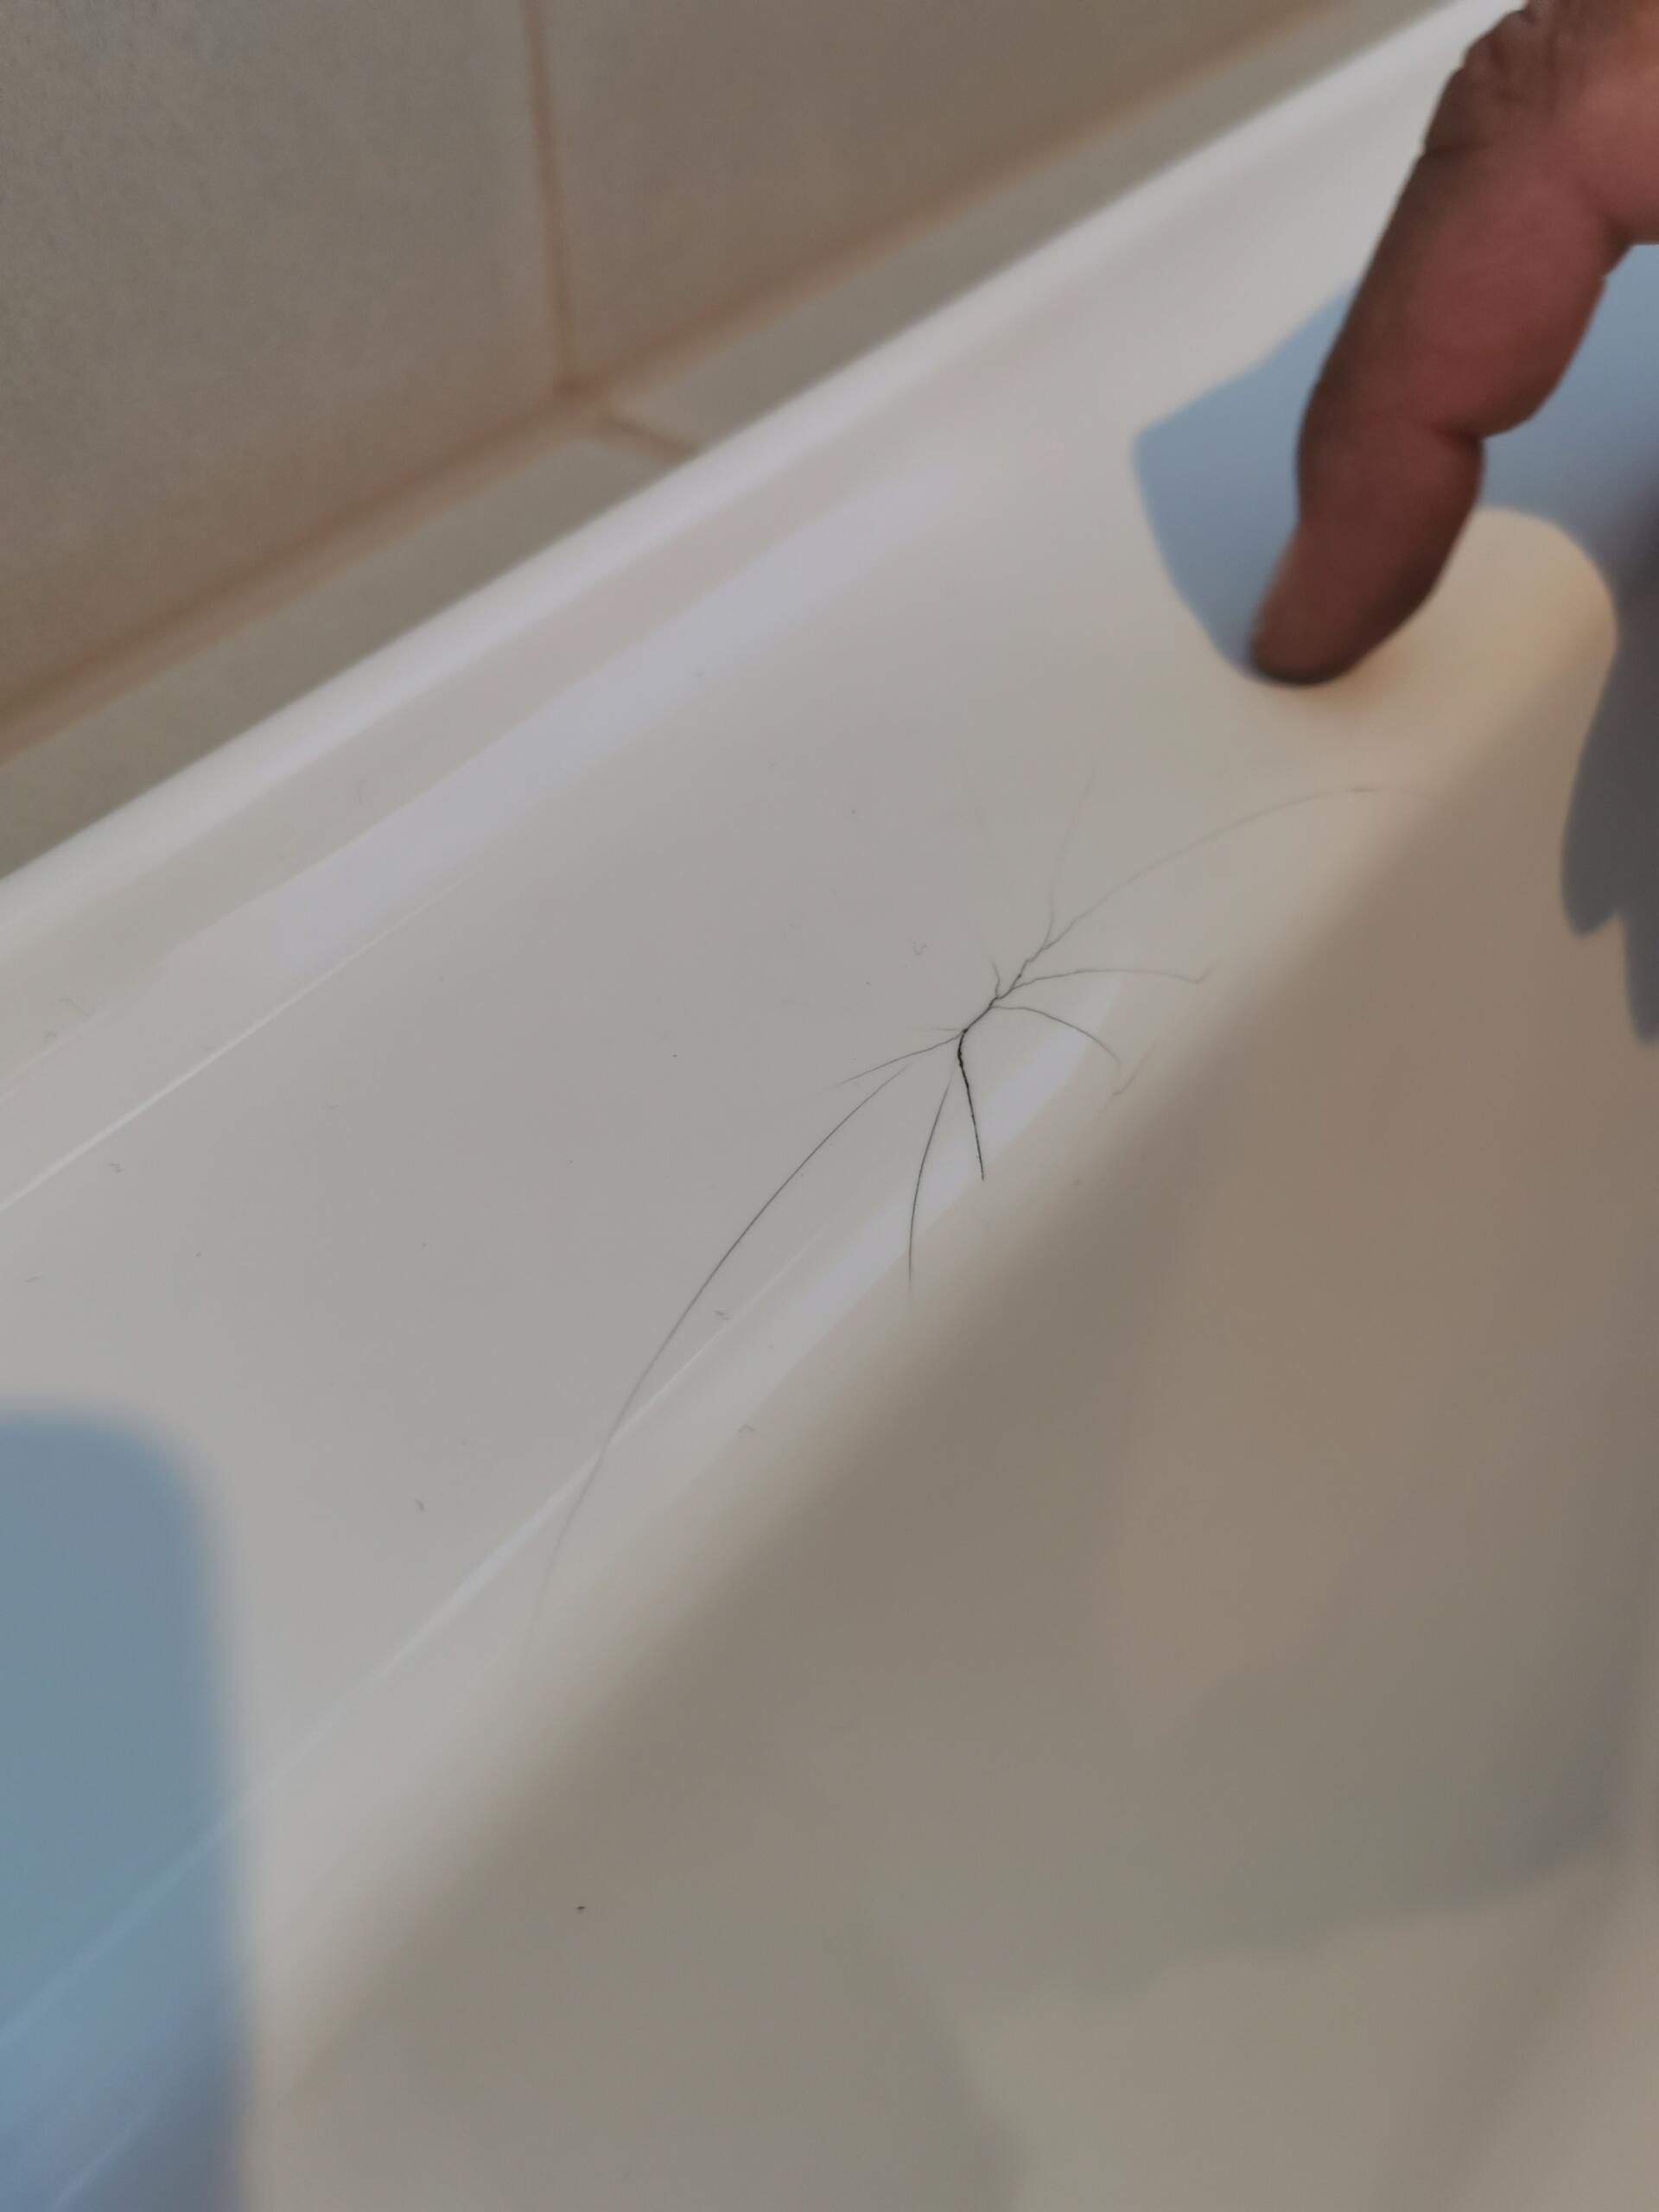
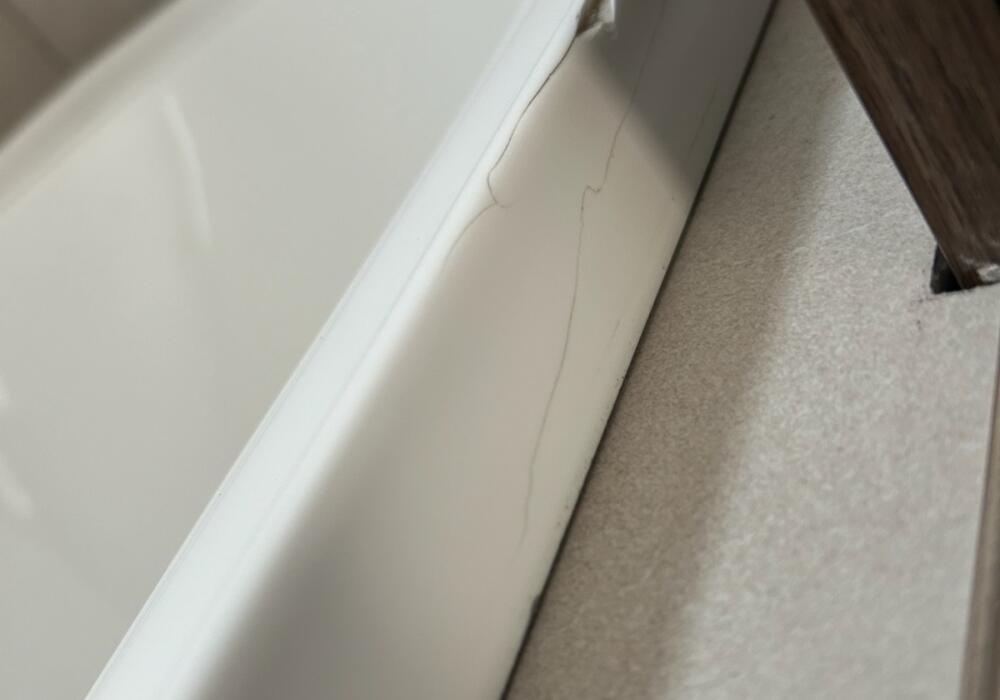
1. Dropped Objects (The #1 Culprit) That expensive glass bottle of shampoo, your phone in a heavy case, metal razors, hairdryers, even soap dishes – anything dropped from height onto your bath can cause chips or cracks from impact stress. This will commonly show as a small chip, but there may be hairline cracks that can get worse over time if not addressed quickly. The corners, edges and flat surfaces of b aths are particularly vulnerable to chips and damage when hit from a height by an object.
2. Installation Damage More common than you’d think – especially in new builds or renovations. During bathroom construction, tools can be dropped, other trades can accidentally impact the bath, or installation itself can cause stress cracks. Common examples include tilers accidentally chipping a bath with sharp tile edges or tools; plumbers cutting down spigot fittings, with the hot metal dropping and melting an acrylic bath surface; or trades standing in a bath in work boots with stones leaving large unsightly scratches on the bath surface.
3. Cleaning with Abrasive Materials Using abrasive cleaners, steel wool, or harsh chemicals can scratch or dull the surface finish over time. While not immediately obvious, this damage accumulates and can weaken the surface.
4. Heavy Objects Placed in Bath Standing or sitting on the edges (especially unsupported areas), placing extremely heavy objects in the bath, or using the bath as a workbench during renovations can cause cracks or structural damage.
5. Renovations and DIY Projects Bathroom renovations are a prime time for bath damage. Removing or replacing surrounding tiles, shower screens, or fixtures often results in accidental chips or cracks. A common example is when removing glass screens, and they accidentally break sending shards of glass raining down on the bath leaving lots of chips and surface scratches.
6. Hair Dye and Chemical Damage Certain hair dyes, nail polish remover, fake tans, and other chemicals can stain or damage bath surfaces, particularly older enamel or acrylic. One customer’s daughter accidentally “melted” their bath by “spilling nail polish remover without telling us straight away.”
7. Natural Wear and Age Over time, surface wear, small scratches, and minor damage can accumulate. While not dramatic, this gradual wear can make your bath look tired and dated.
8. Structural Issues In rare cases, house movement, plumbing issues, or improper installation can cause stress cracks that appear over time if a bath is not properly supported, or has some underlying stress from prior damage.
How to Prevent Bath Damage
Daily Habits
- Keep hard objects off the bath edges – no metal razors, glass bottles, or heavy items balanced precariously
- Use a rubber bath mat – protects the base from dropped objects and provides slip protection
- Place items carefully – avoid dropping anything from height
- Rinse after every use – prevents soap scum buildup that requires aggressive cleaning
- Avoid abrasive cleaners – use gentle, pH-neutral bathroom cleaners designed for your bath type
Cleaning Best Practices
- Use soft cloths or sponges – never steel wool or abrasive pads
- Choose appropriate cleaners – check your bath manufacturer’s recommendations
- Rinse thoroughly – don’t let cleaners sit on the surface
- Avoid bleach on enamel – it can dull and damage the finish over time
- Test new products – try in an inconspicuous area first
During Renovations
- Protect your bath – cover with thick blankets or protective boards if other work is happening
- Brief tradespeople – ensure everyone knows to take care around the bath, and to avoid standing in the bath where possible (especially to remove shoes if they need to stand in the bath)
- Do bath-related work last – if possible, complete other bathroom work before bath installation
- Supervise carefully – keep an eye on work near the bath
Smart Storage
- Install secure shelving – prevent bottles from falling, and store them safely to avoid falling risk
- Use shower caddies properly – ensure they’re firmly attached
- Avoid overcrowding – less clutter means less chance of things falling
- Store heavy items elsewhere – keep them away from the bath entirely
What to Do When Bath Damage Happens
Immediate Response
- Don’t use the bath – especially if there’s a crack that could expand. Check if there is a risk of water damage – if in doubt call a plumber immediately to ensure no further damage to the bathroom or house
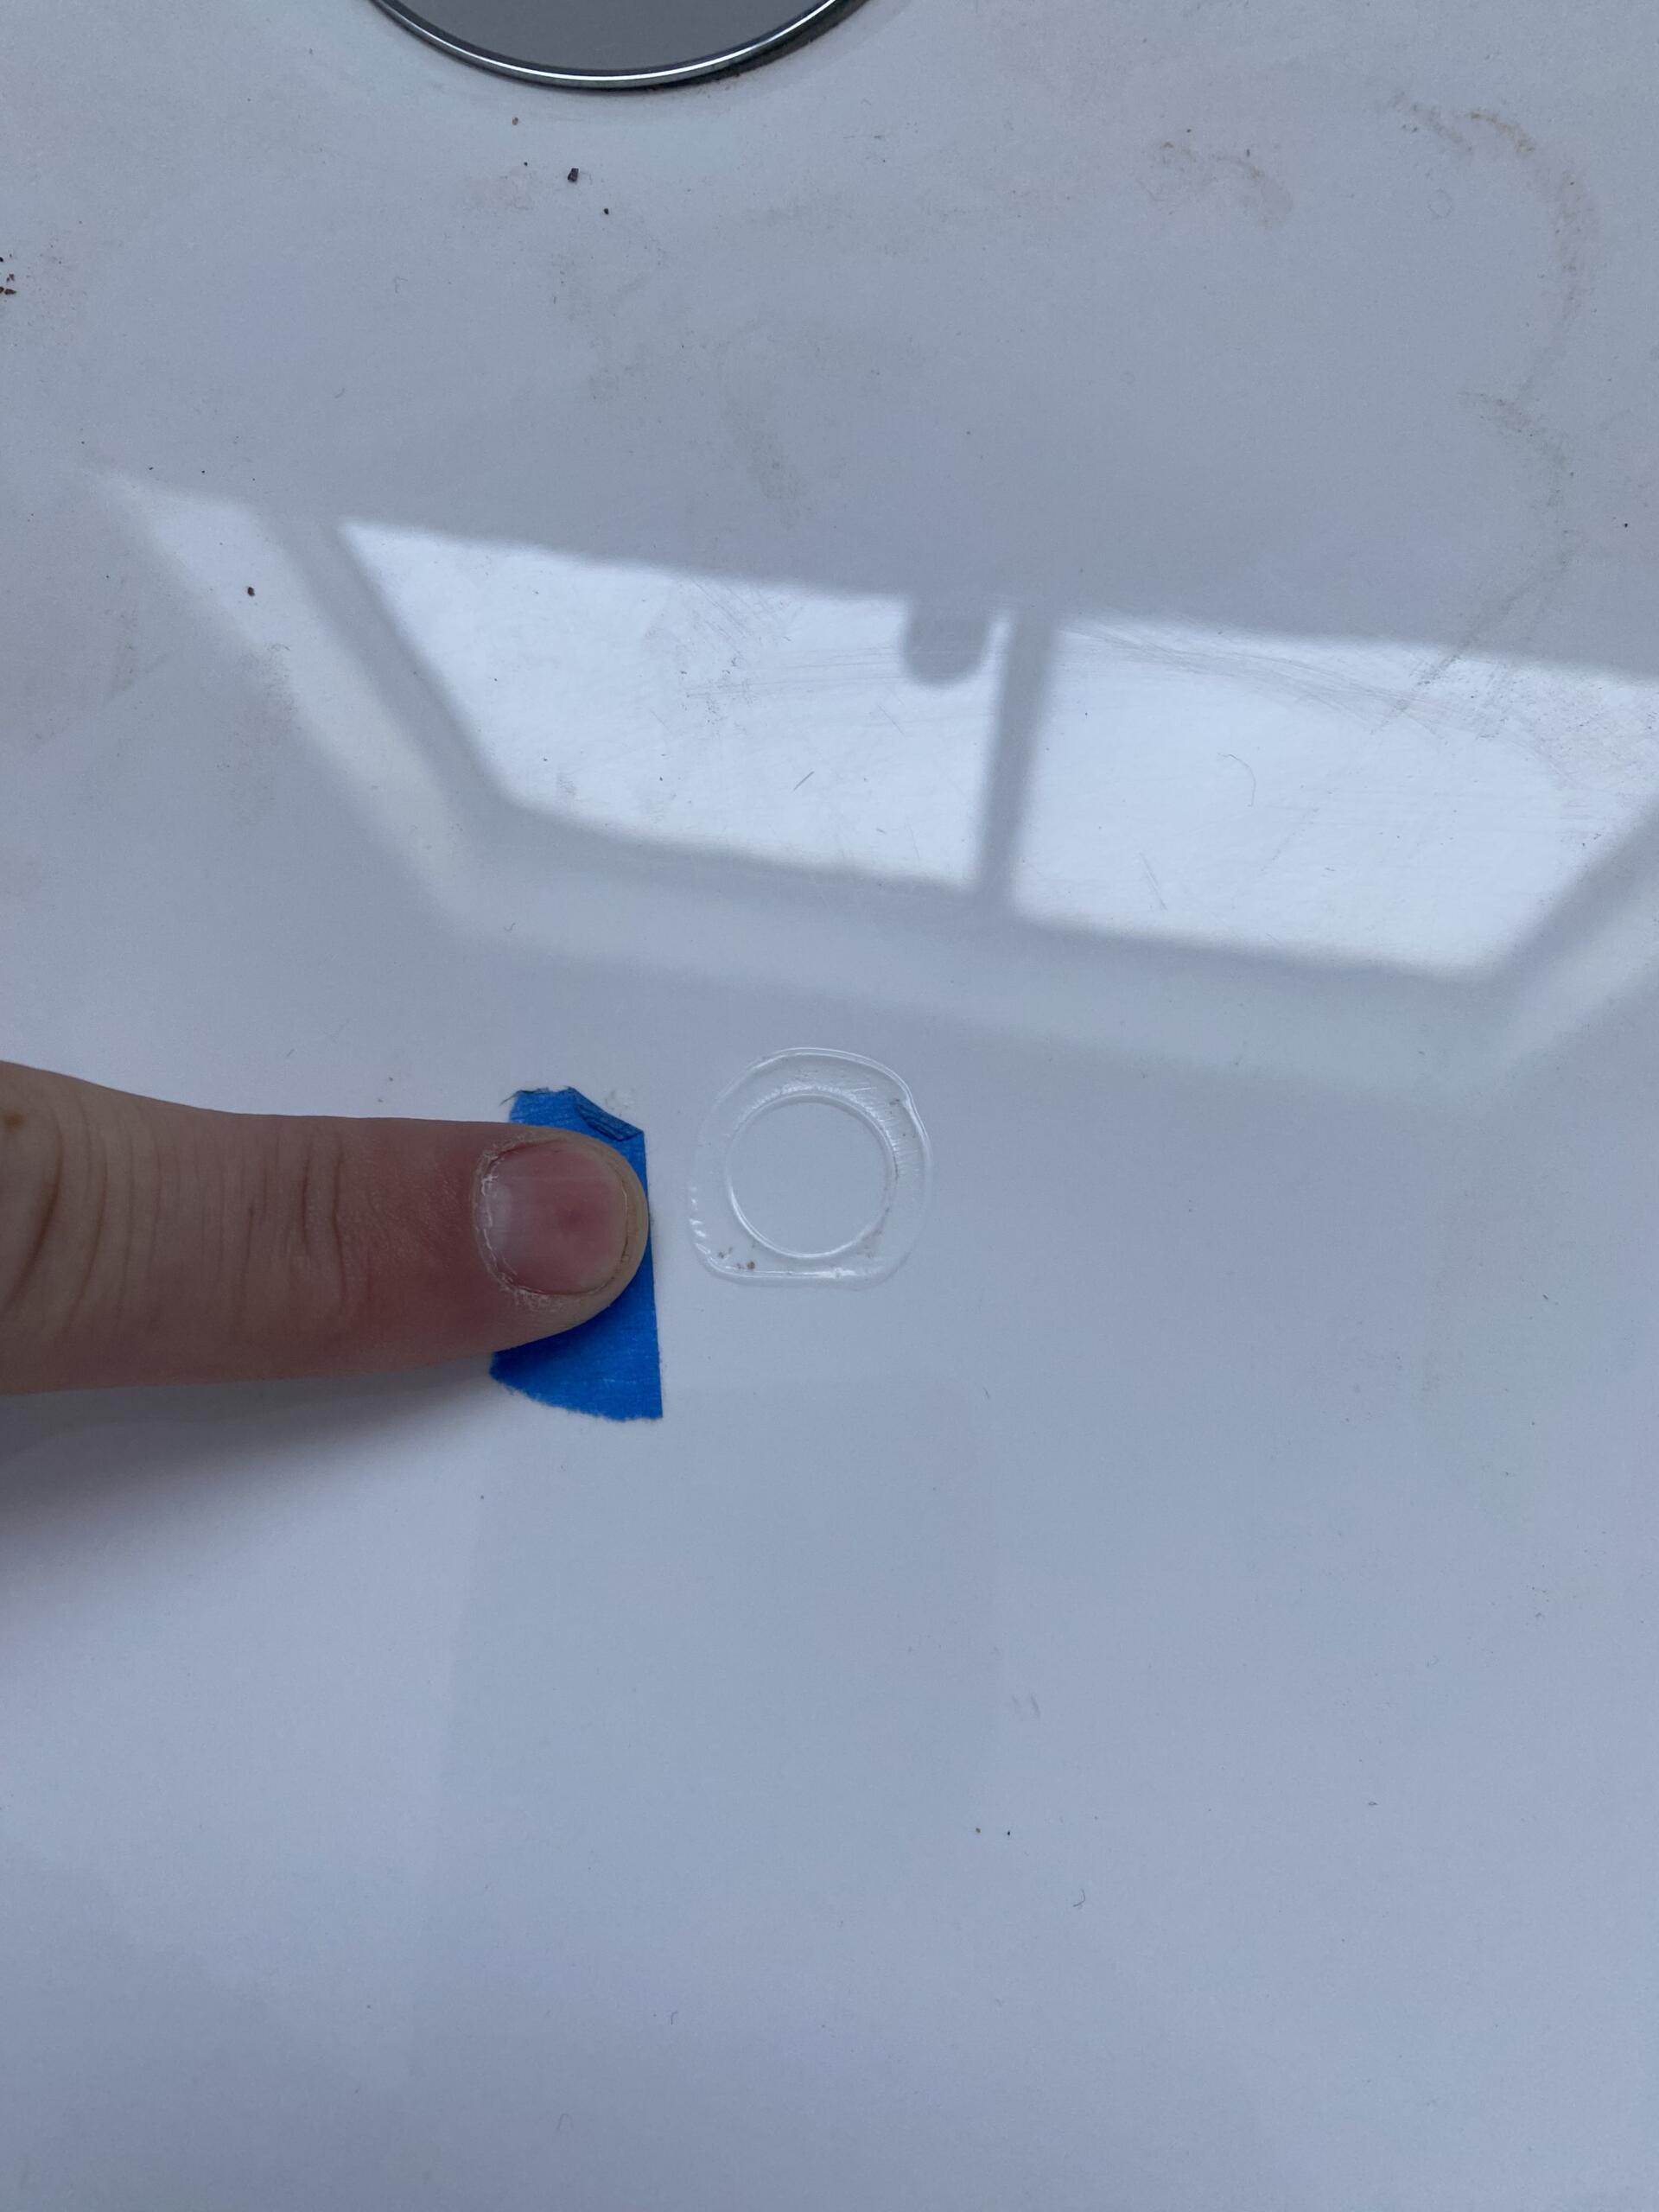
- Take photos – document from multiple angles in good lighting
- Clean the area gently – remove any debris
- Keep any broken pieces – these can help with colour matching
- Check surrounding areas – ensure no additional damage
Safety Assessment
- Small surface chips – generally safe to continue using until repair, after ensuring no risk of water leaking
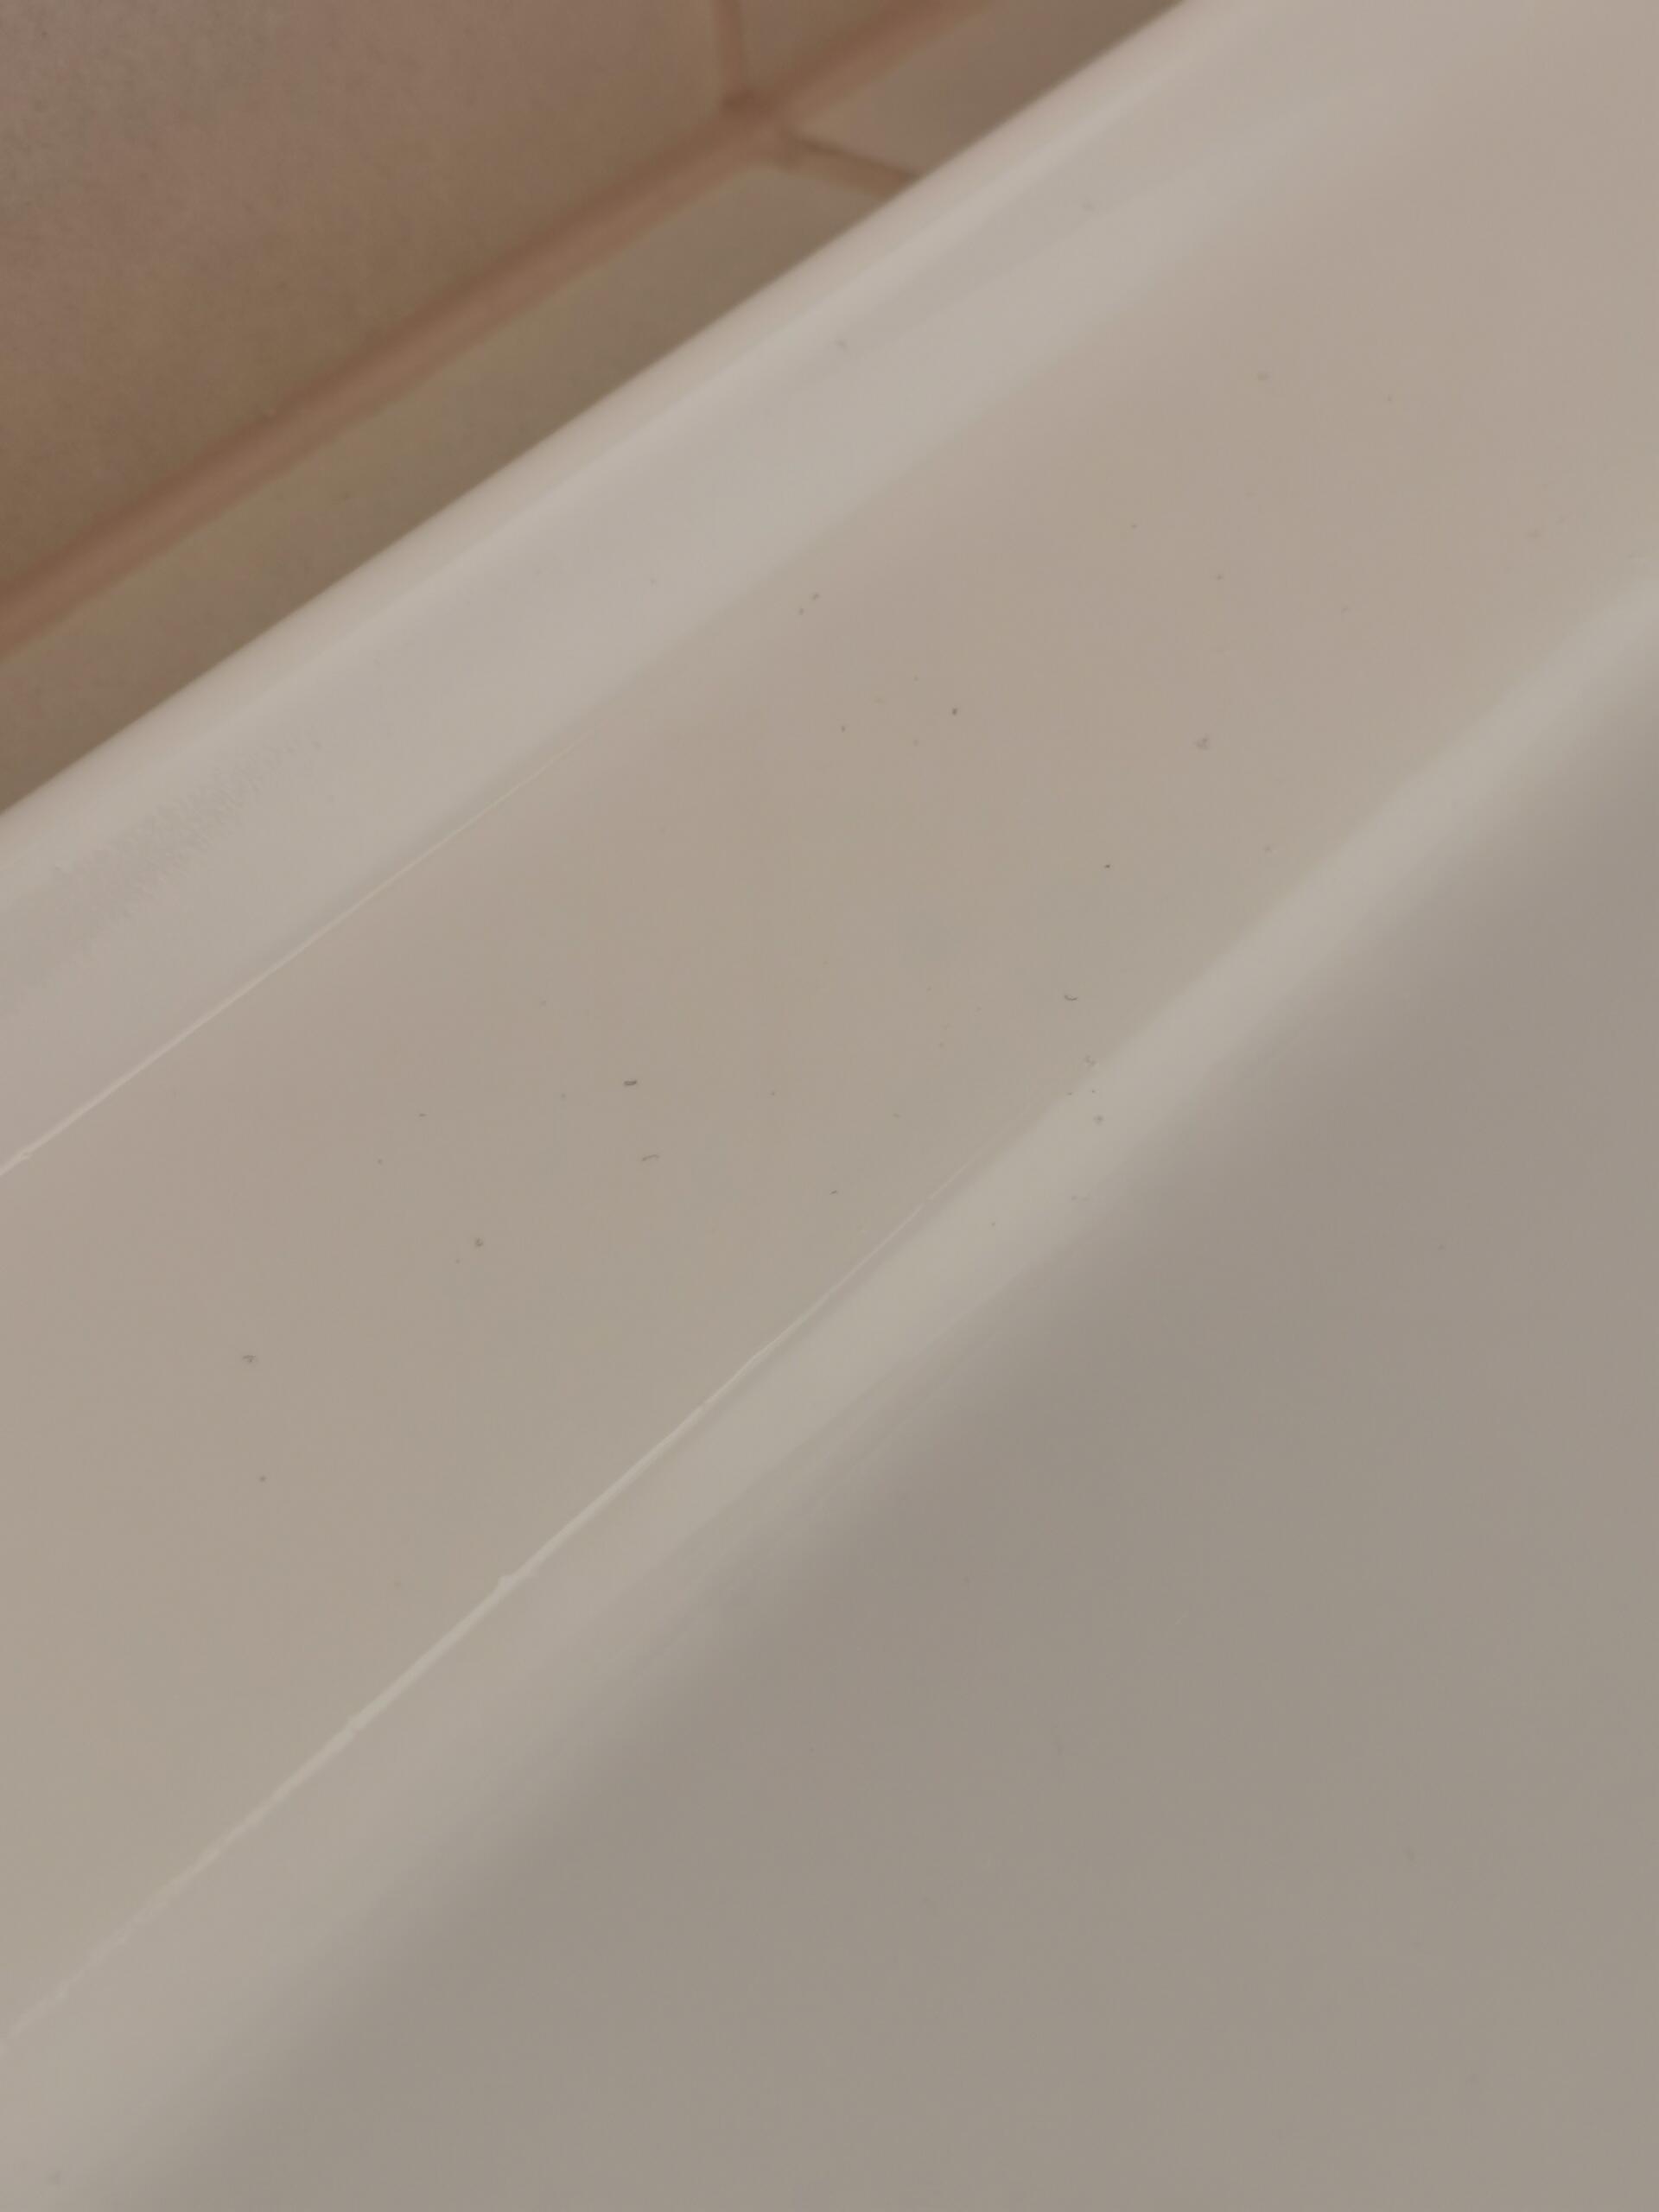
- Cracks – assess if they’re surface-level or go deeper – leaking water can cause a lot of damage if not properly looked after
- Water leaks – stop using immediately if water is leaking through and call a plumber
- Sharp edges – cover with tape to prevent cuts until repair
Professional Assessment Contact a bath repair specialist for an expert evaluation. Many professionals (like FIX ‘N’ CHIPS) can provide quotes from photos, saving you the cost of an unnecessary site visit.
Understanding What Bath Damage Is Repairable
Generally Repairable Bath Damage:
- Surface chips and scratches
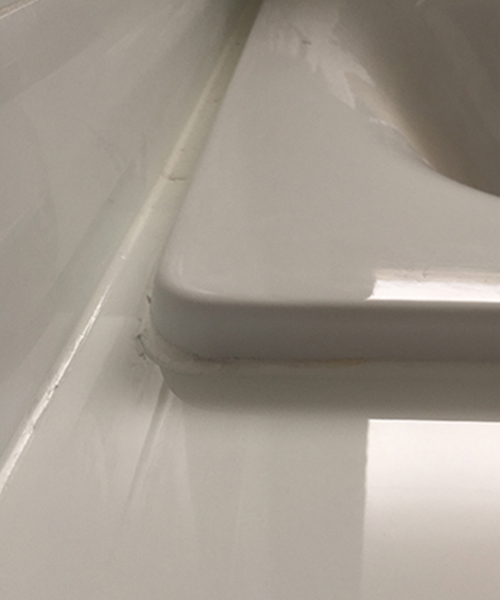
- Edge chips and corner damage
- Small to medium cracks (depending on location and depth) – if the structural integrity of the bath is impacted, the bath may need to be replaced as once a bath is filled full of water it needs to be able to safely manage the additional weight
- Dull or worn areas
- Minor staining
- Burn marks or chemical damage to surface
- Multiple small damaged areas
More Challenging Bath Damage:
- Large cracks affecting structural integrity – will often require replacement
- Extensive crazing – network of fine cracks in the bath surface often caused by thermal stress
- Damage where water has penetrated underneath
- Severely rusted-through areas (on steel baths)
- Damage combined with underlying substrate issues
When Replacement May Be Necessary:
- Extensive structural damage
- Large holes right through the bath
- Severe rust compromising bath integrity
- Multiple large cracks that can’t be stabilized
- When you’re doing a complete bathroom renovation anyway
The vast majority of bath damage falls into the “repairable” category. A professional assessment will give you honest guidance as to what is able to be repaired, and when a bath should be replaced.
The Professional Bath Repair Process
Here’s what happens during a professional repair:
Step 1: Assessment and Preparation
- Evaluate the damage type and extent of the damage to the bath
- Identify your bath material and finish
- Clean and prepare the damaged area thoroughly
- Ensure the area is completely dry
Step 2: Bath Chip Repair
- Fill the damage with specialized materials designed for your bath type
- Build up the damaged area to ensure integrity of the repair and level with the existing surface
- Ensure proper bonding to the existing bath surface
Step 3: Colour Matching
- Custom mix colours to match your exact bath colour – not all whites are the same!
- Consider the age and tone of your bath
- Match not just colour but depth and translucency, and match the colour to the existing lighting in your bathroom
- Test the match before full application
Step 4: Surface Finishing
- Shape the repair to match the original contour
- Sand and smooth to perfection
- Match the gloss level (matte, satin, or high gloss)
- Blend the repair area to fade into the surrounding surface
Step 5: Sealing and Protection
- Where necessary apply protective coatings to the repair
- Ensure water resistance
- Cure properly for durability – please take note of any curing time before the bath can be used
Step 6: Quality Check
- Inspect from all angles
- Check under different lighting
- Ensure structural integrity
Most bath repairs take 1-2 hours, and the bath can typically be used again within 24-48 hours (depending on the materials used and cure time required).
Real Results: What Customers Say
FIX ‘N’ CHIPS Casey’s customer, Andrew, reported: “Richard was amazing – bath fixed and repaired in less than an hour, quality job – very happy client! Recommend to all!!”
FIX ‘N’ CHIPS Gold Coast’s customer raved: “Gary from the Gold Coast fix n chips franchisee was absolutely fabulous! He fixed my bath back to being brand new!”
FIX ‘N’ CHIPS Beenleigh’s customer, Sharon, shared: “Craig worked his magic and saved us thousands of dollars by repairing our spa that our daughter melted by spilling nail polish remover. Our bath now looks like new.”
Another FIX ‘N’ CHIPS customer commented: “I have to say Fix ‘N’ Chips are magicians. They were engaged by my insurer to fix a corner of the bath that had cracked off due to a smart speaker falling off a shelf onto it. I was a bit sceptical that it could be fixed, but sure enough, the technician rebuilt the corner of the bath and covered it with perfectly colour-matched resin. It is literally an invisible repair.”
Bath Repair vs. Replacement: The Financial Reality
Let’s break down the actual costs:
What Does It Cost To Replace A Bath?
- New bath: $500-$3,000+ (depending on type and quality)
- Removal and disposal of old bath: $200-$400
- Waterproofing: $500-$1,500 (if membrane is disturbed during removal)
- Plumbing adjustments: $300-$600
- Tile removal/replacement: $500-$2,000+ (if surrounding tiles damaged or new spigot needs to be installed to match the new bath)
- New Bath Installation: $400-$800
- Shower screen adjustments: $200-$500
- Time without bathroom: 3-7 days minimum
- Total: $2,600-$8,800+ and major disruption
Professional Repair:
- Repair cost: $300-$500 (depending on damage extent)
- Time to complete: 1-2 hours
- Cure time: Usually 24-48 hours
- Disruption: Minimal
- Risk of additional damage: None
- Total: A few hundred dollars, back to normal next day
One customer put it perfectly: “It would have cost me thousands just to reinstall.”
The Insurance Consideration
If your bath damage occurred due to an insurable event (accidental damage, storm damage, etc.), your home insurance may cover professional repair.
Key Points:
- Document damage with photos immediately
- Get a professional quote for your insurer
- Repair claims are typically processed faster than replacement
- Smaller claims may not affect your premiums as much
- Some insurers specifically prefer repair over replacement
Why DIY Bath Repair Usually Fails
Hardware stores sell bath repair kits, and we understand the temptation to try them. Here’s why they typically disappoint:
Poor Colour Matching Generic white or cream doesn’t match the specific tone, age, and character of your bath. The result is an obvious patch you will continue to see everyday.
Inadequate Materials DIY kits use materials that aren’t designed for wet environments or the specific stresses baths endure, particularly when filled. They often fail within months.
No Professional Finish Achieving the correct gloss level and smooth finish requires skill and specific tools. DIY repairs usually look bumpy or have the wrong sheen.
Weak Bonding Without proper surface preparation and professional-grade bonding agents, DIY repairs often chip or peel out quickly.
Making It Worse Some DIY attempts actually make the damage worse or create problems that make professional repair more difficult.
Questions to Ask a Repair Specialist
- What’s your experience with my specific bath type?
- Can you show examples of similar repairs you’ve completed?
- Do you provide a warranty on your repairs?
- How long until I can use the bath again?
- What’s the expected longevity of the repair?
- Can you provide a quote from photos?
At FIX ‘N’ CHIPS, we have 20+ years of experience with all bath types, use a range of market-leading professional materials, and provide warranties on our work. We’re happy to assess from photos and provide honest guidance about whether repair or replacement is the better option for your situation.
Caring for Your Repaired Bath
Once professionally repaired, protect your investment:
First 24-48 Hours:
- Follow all aftercare instructions carefully
- Don’t use the bath during the cure period
- Keep the area dry
- Avoid touching or testing the repair
Long-Term Care:
- Use gentle, appropriate cleaners
- Avoid abrasive materials
- Continue all the prevention habits mentioned earlier
- Have any new damage addressed promptly
- Consider the repair area when cleaning (treat gently)
Professional bath repairs, when properly cared for, can last a long time and are no longer the first thing you see when you look at your bath.
Repainting Or Respraying Baths
If the extent of the damage to your bath means a spot repair is not going to be suitable, a better outcome may be to have your bath repainted or resprayed.
When a bath may need to be resprayed:
- There are a large amount of chips or surface damage which makes blending in a repair incredibly difficult
- Stains or surface damage that cover a large area of the bath
- Crazing to the bath surface
- Fading or chipping of the existing bath surface across a large area
In this case, there are specialist repainting or respraying companies. If you need help with this, please get in touch with us, and we can easily review your damage and share through companies we recommend.
The Environmental Angle For Bath Repair
Choosing bath repair over replacement isn’t just smart financially – it’s better for the environment:
- Keeps perfectly functional baths out of landfill
- Reduces demand for new manufacturing
- Minimizes transportation emissions
- Decreases construction waste
- Lower carbon footprint overall
When to Act Quickly
Some bath damage requires prompt attention:
- Any cracks that could expand – get assessed immediately
- Water leaking through – stop using and get professional help
- Sharp edges – safety hazard, address quickly
- Small chips – easier to repair before they grow
- Before selling – damaged baths significantly impact perceived value
The Bottom Line On Bath Repair
Bath damage is frustrating but rarely catastrophic. Professional bath repair is almost always the smart, economical choice over replacement – saving you thousands of dollars and days of disruption.
Don’t let a chipped bath force you into expensive replacement. Don’t live with damage that bothers you every time you step into the bathroom. And definitely don’t settle for obvious DIY patches that make the problem more visible.
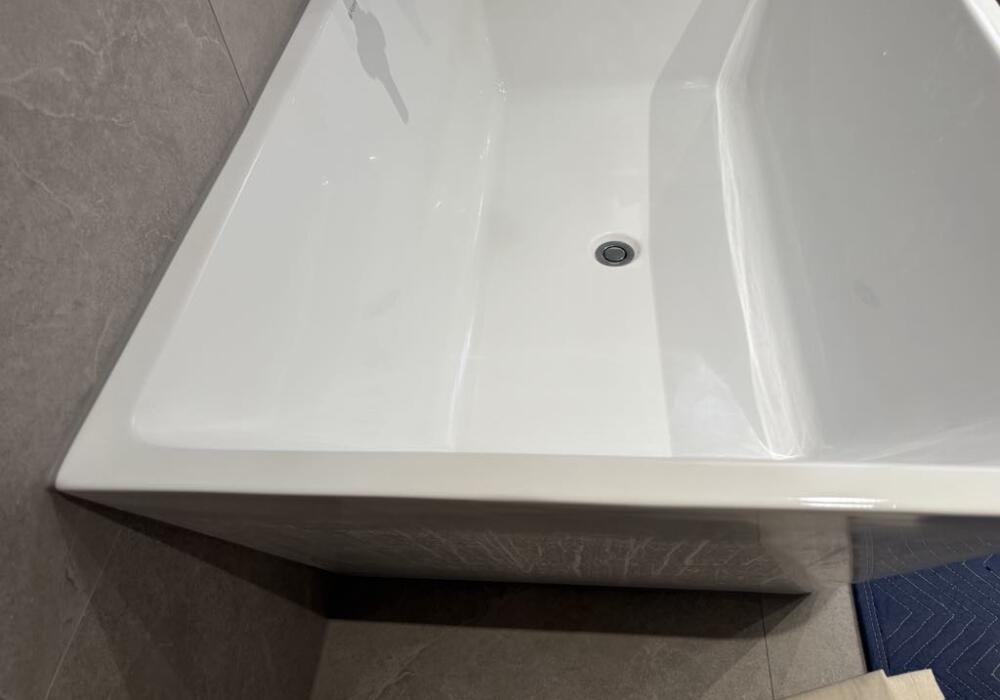
Professional bath repair brings your bathroom back to its original beauty – often so seamlessly that you’ll forget where the damage was.
Discovered damage to your bath or spa? Contact FIX ‘N’ CHIPS today for a free assessment. Our franchisees service homes across Victoria, Queensland, and Tasmania with local chip repair specialists who are experts in bath repair. Call 1300 349 624 or visit submit an online enquiry today
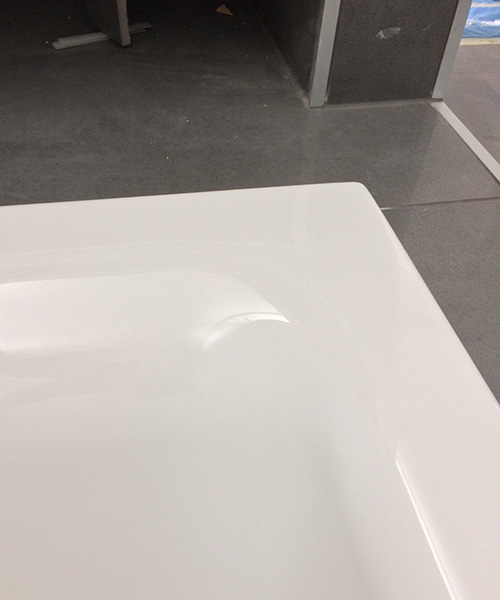
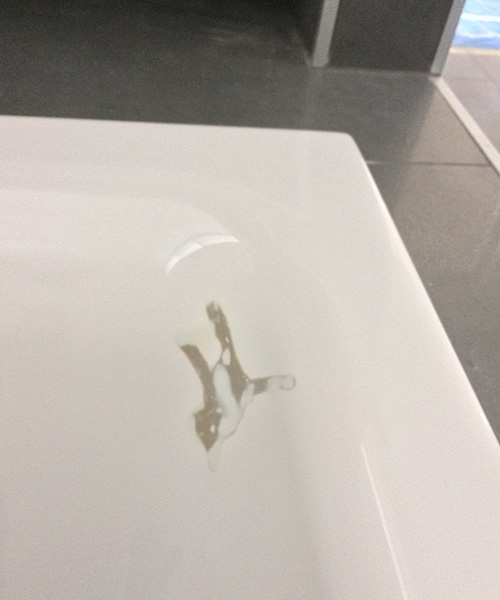
Bath Repairs: Before & After Photos