Noticed a chip, hole or dent in your beautiful tiles? Whether it’s a bathroom wall tile, kitchen splash back, or floor tile, damage happens. The good news? You have options! Let’s explore each one so you can make the best decision for your home and budget.
Understanding Your Tile Damage
Before diving into solutions, it’s important to understand what you’re dealing with:
Common tile damage includes:
- Chips (often from dropped objects)
- Cracks (from impact or structural movement)
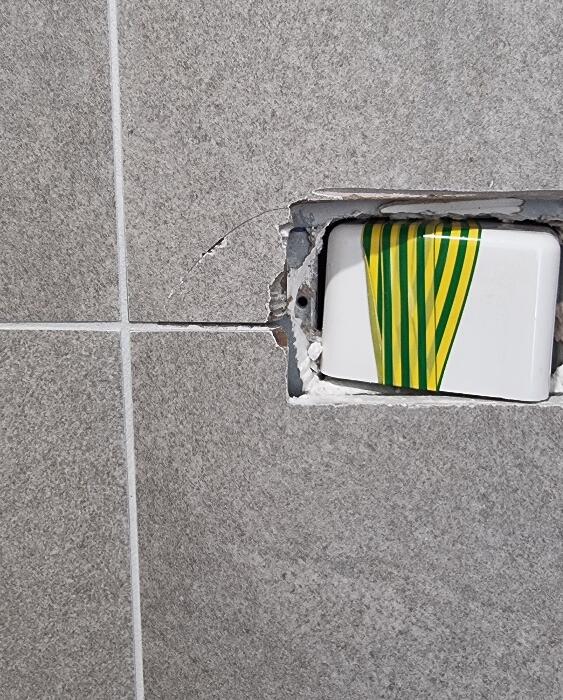
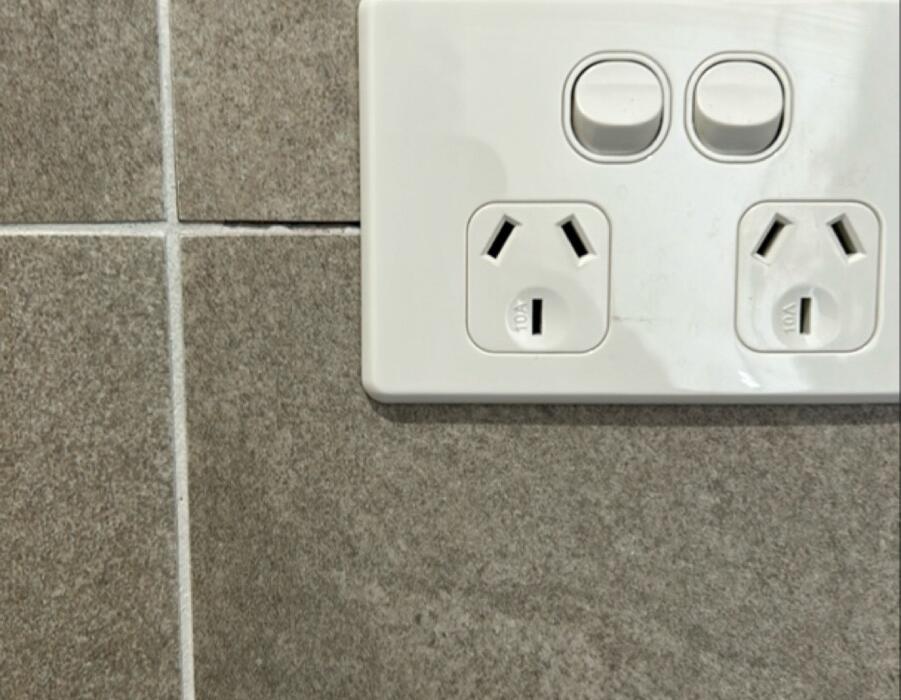
- Holes (from removed fixtures like towel rails)
- Cuts (from plumbers or tilers over cutting a hole in a tile for a tap for example)
- Surface scratches
- Discoloration or burn marks
The type and location of damage will influence which option works best for you.
Option 1: Professional Tile Chip Repair
What It Involves: Professional tile chip repair means fixing the existing tile without removing it. Technicians use specialized materials to colour-match to the existing tile, then fill chips, cuts, or holes, and texture-match to blend with your existing tile.
The Process:
- Clean and prepare the damaged tile area
- Custom color-match to your specific tile
- Fill the damage with appropriate repair materials
- Recreate the tile’s texture, pattern, and sheen
- Seal for protection and durability
Pros:
- Cost-effective: A fraction of replacement cost
- Fast: Usually completed in 1-2 hours
- Reduces waterproofing concerns: Critical in wet areas like bathrooms, where removing a tile has the risk of causing waterproofing damage
- Preserves existing tiles: Important if your tile is discontinued
- Minimal disruption: No demolition, dust, or mess
- Perfect for single tiles: When only one tile is damaged
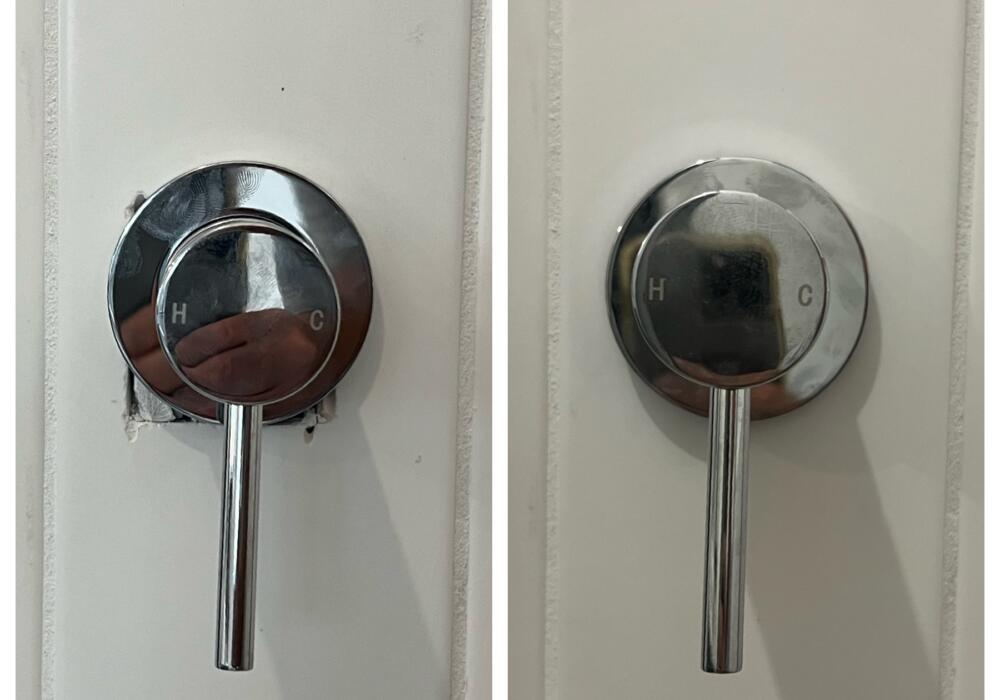
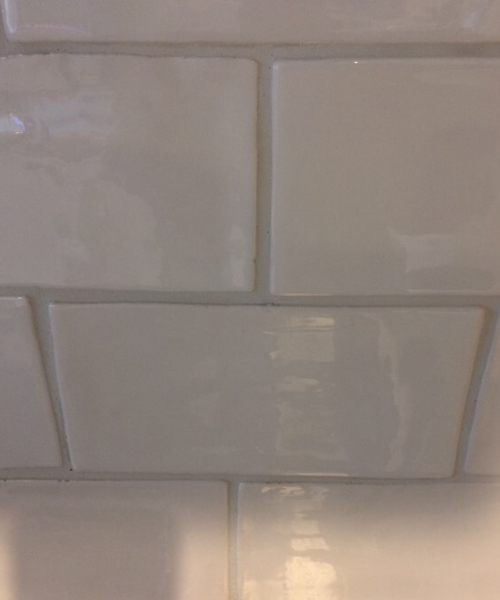
One customer, Trudie, had “two large, noticeable holes in the glossy white tiles” from a removed towel rail. After Alan’s repair, she was “astounded” – she couldn’t “even find where the holes were no matter how hard I look!”
Cons:
- Not suitable for extensive damage across multiple tiles
- May not be appropriate if tiles are already loose
- Repairs are visible under very close inspection
- Limited to surface damage
Best For:
- Single damaged tiles
- Where the cost and risk of replacement are high
- Discontinued or hard-to-match tiles
- Budget-conscious homeowners
- Quick fixes needed before selling
Option 2: Individual Tile Replacement
What It Involves: Removing the damaged tile and installing a new matching tile in its place.
The Process:
- Carefully remove grout around the damaged tile
- Carefully break and remove the damaged tile
- Check the integrity of the waterproof membrane
- Clean the substrate
- Apply adhesive and install the new tile
- Re-grout and seal
Pros:
- Completely new tile (if you can find a match)
- Works for extensively damaged tiles
- Good if you have spare tiles from original installation
Cons:
- Waterproofing risks: In bathrooms, removing tiles can damage the waterproofing membrane beneath, which doesn’t meet industry standards if not properly addressed, leaving your bathroom and house at risk
- Color matching challenges: Even the same tile can look different due to manufacturing batches or age
- Time-consuming: Requires drying time for adhesive and grout
- Messy: Dust and debris from tile removal
- Risk of surrounding damage: Can crack adjacent tiles during removal
- More expensive than repair: Labor and materials add up
Best For:
- Dry areas (kitchen splash backs, feature walls)
- When you have the exact matching tile available
- Tiles that are structurally compromised
- Multiple tiles in poor condition
Option 3: Complete Tile Replacement (Full Section or Room)
What It Involves: Removing all tiles in a section or entire room and installing completely new tiles.
The Process:
- Remove all existing tiles
- Prepare substrate (possibly including new waterproofing)
- Install entirely new tile layout
- Grout and seal
Pros:
- Fresh, updated look for your space
- Opportunity to change style completely
- No worrying about matching existing tiles
- Modern waterproofing (in wet areas)
Cons:
- Significant expense: Thousands of dollars for materials and labor
- Major disruption: Days or weeks of work
- Room out of commission: Can’t use bathroom/kitchen during work
- Requires multiple trades: Waterproofers, tilers, plumbers
- Overkill for minor damage: Like buying a new car for a scratched bumper
Best For:
- Extensive damage across many tiles
- Tiles that are outdated and you want to renovate anyway
- Structural issues requiring complete overhaul
- Where concern of water damage or waterproof member integrity has been compromised
- When you’re already doing major renovations
The Critical Waterproofing Consideration
Here’s something many homeowners don’t realize: in wet areas like bathrooms and laundries, removing and replacing tiles can compromise your waterproofing membrane.
Current building regulations require that if you disturb the waterproofing, it must be brought up to current standards. This means:
- Replacing a single bathroom tile could legally require re-waterproofing the entire shower or bathroom
- Re-waterproofing adds significant cost
- It extends the project timeline considerably
- It requires a licensed waterproofer
This is why repair can be a preferred solution for wet areas – it preserves the existing waterproofing integrity while fixing the visual issue.
Cost Comparison: What to Expect
Let’s break down the approximate costs:
Professional Tile Repair:
- Single tile: $300-400
- Time: 1-2 hours
- Waterproofing impact: Minimal
Individual Tile Replacement:
- Single tile: $400-$600+ (more if waterproofing required)
- Time: Half to full day (plus drying time)
- Waterproofing impact: Potential compromise
Full Section Replacement:
- Bathroom: $3,000-$8,000+
- Kitchen splashback: $1,000-$3,000+
- Time: 3-7 days minimum
- Waterproofing impact: Complete re-waterproofing required for wet areas
Making Your Decision
Consider these factors when choosing your option:
Choose Tile Repair If:
- Damage is limited to one or a few tiles with smaller cosmetic damage
- Tiles are in a wet area (bathroom, laundry)
- Your tiles are discontinued or hard to match
- You need a quick, budget-friendly solution
- You’re preparing to sell your home
Choose Individual Tile Replacement If:
- You have exact matching tiles available
- The tile is in a dry area
- The tile is structurally compromised (loose, cracked through)
- You’re comfortable with the waterproofing considerations
Choose Complete Tile Replacement If:
- Multiple tiles are damaged or deteriorating
- You want to update the look anyway
- You’re undertaking major renovations
- The existing tiles are from an era best forgotten!
Real Customer Experiences
Helen had chipped tiles repaired by local franchisee Gus in Hobart and said: “The color & texture matching is so good that if you didn’t know where the tile chips were you wouldn’t be able to pick them.”
Brisbane franchisee Matt helped Chris fix a shower tile chip, and after completion, Chris noted: “it takes a good eye to be able to spot it. 100% recommend Matt to fix your chips!”
These experiences show just how effective professional repair can be!
The Bottom Line
For most homeowners with one or a few damaged tiles, professional repair is the smart choice. It’s fast, cost-effective, preserves waterproofing, and produces results that are virtually invisible.
Don’t let a single damaged tile force you into expensive, disruptive replacement. Explore your repair options first – you might be amazed at what’s possible!
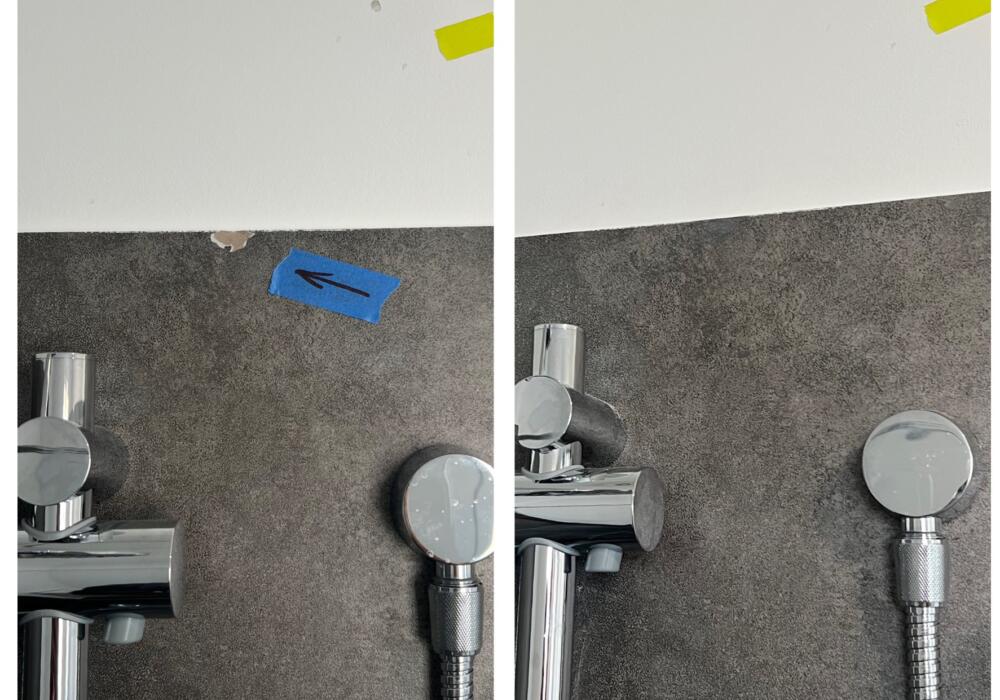
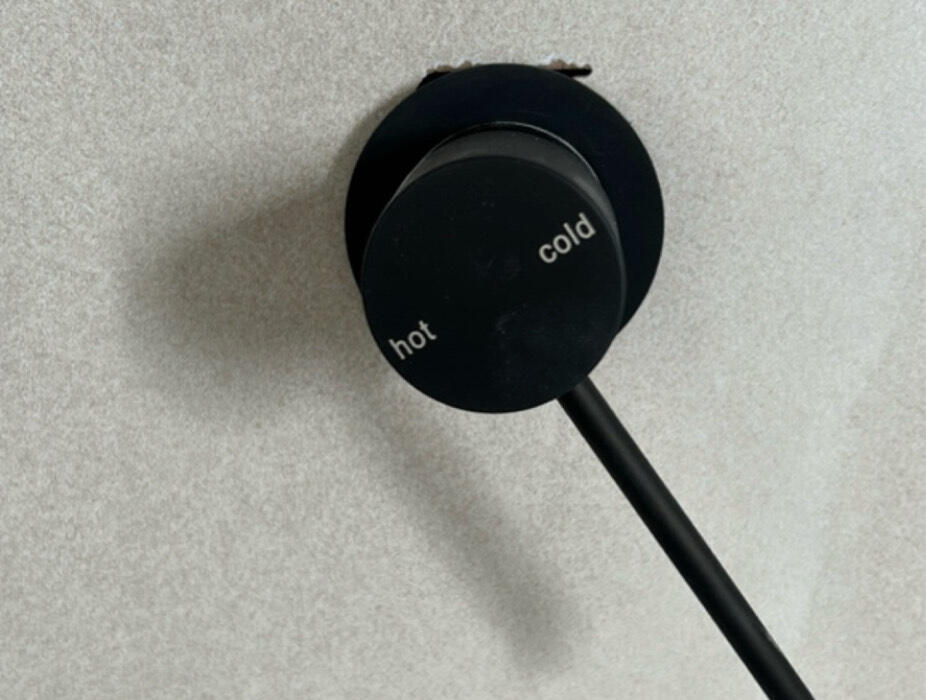
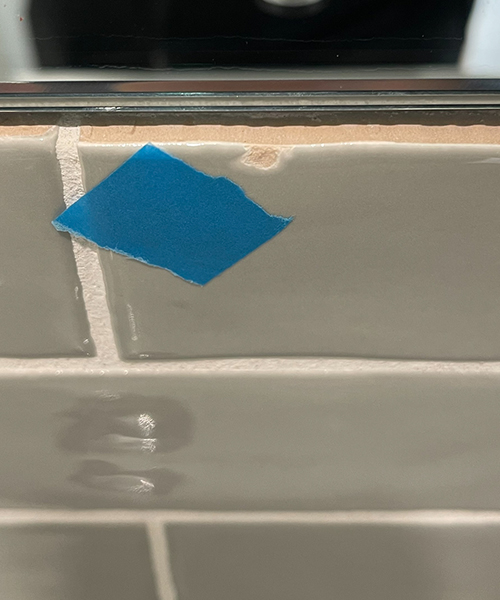
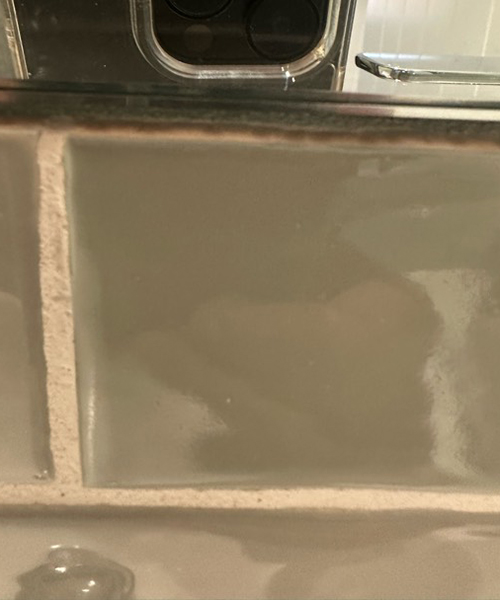
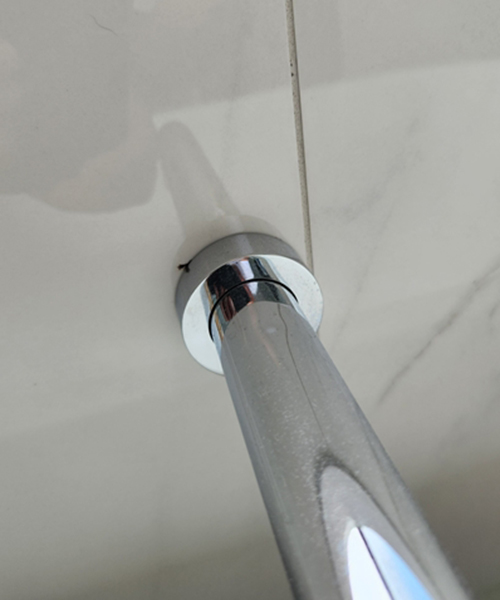
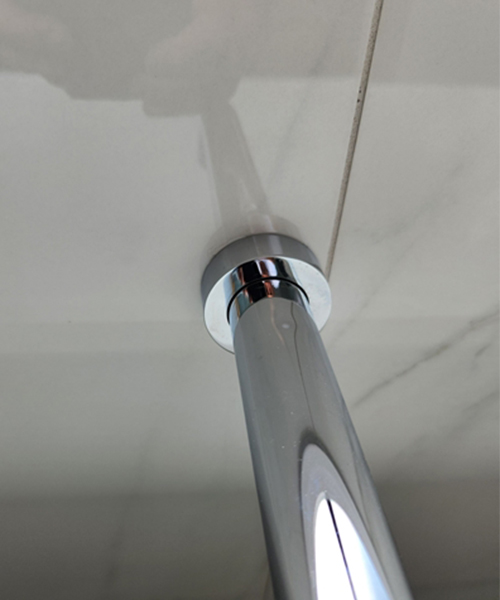
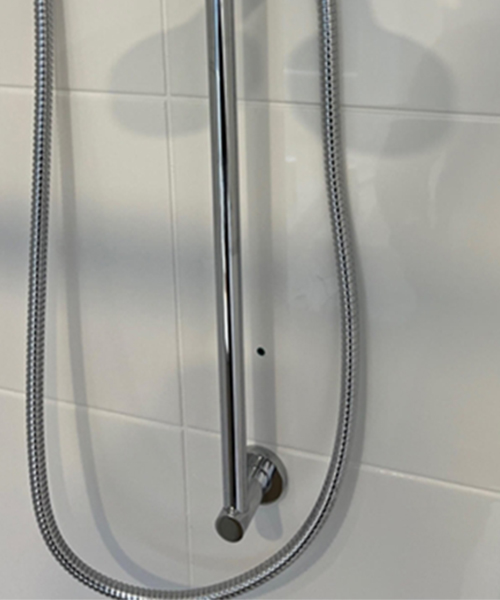
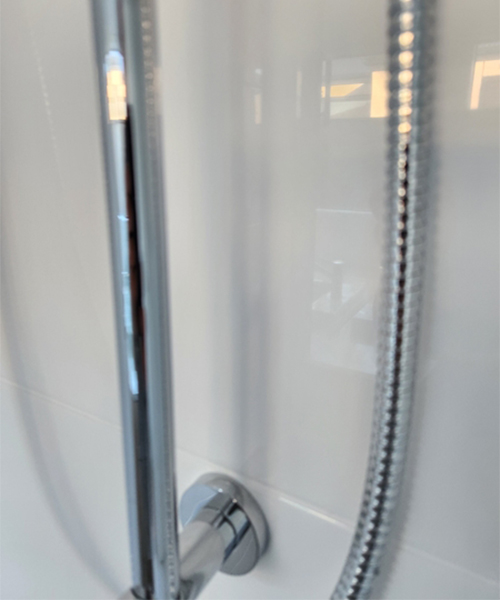
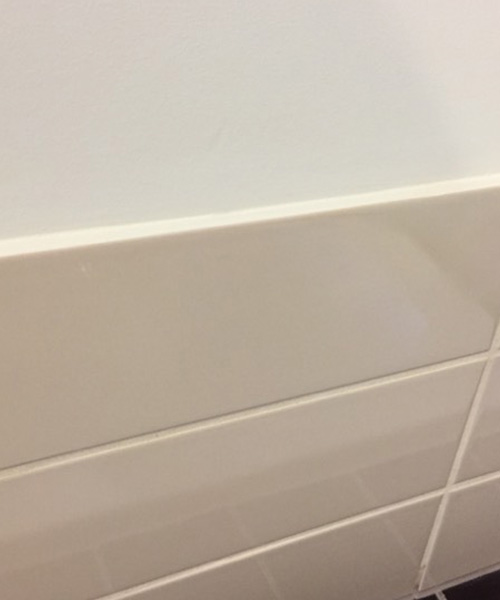
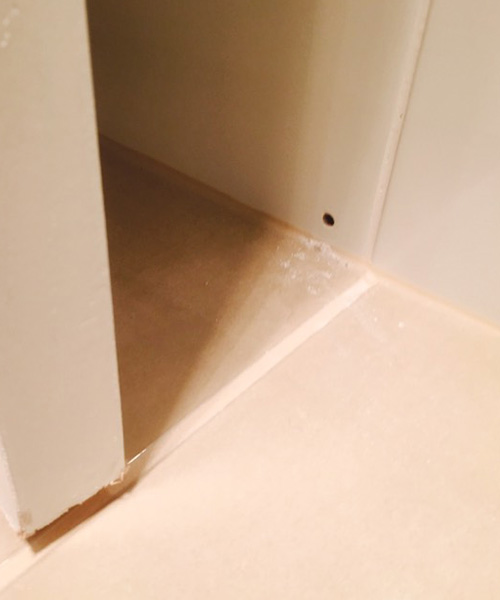
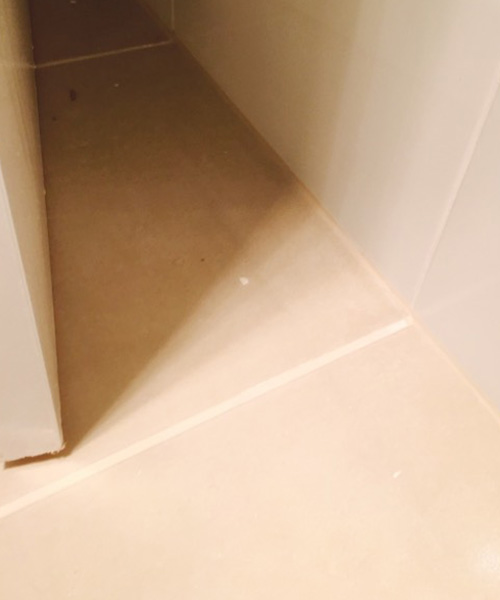
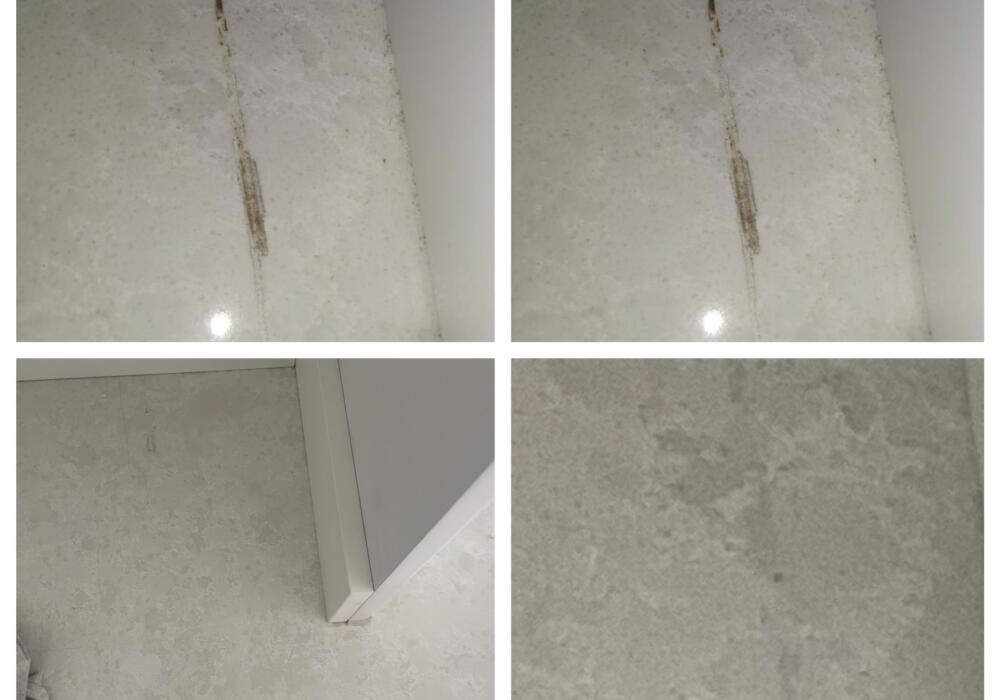
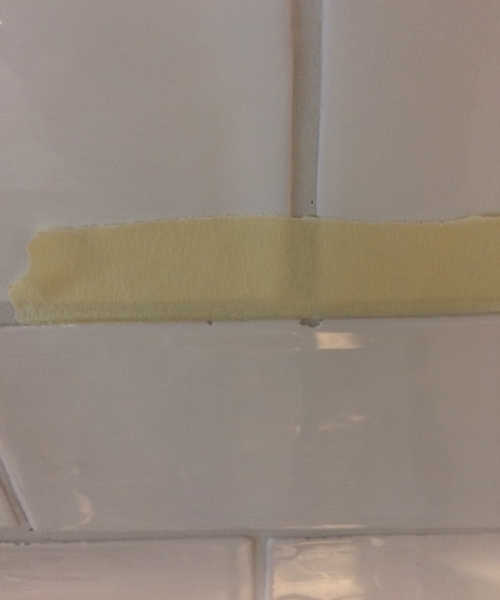
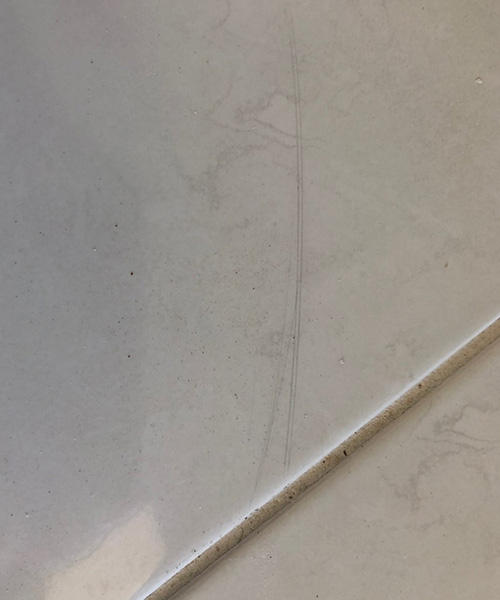
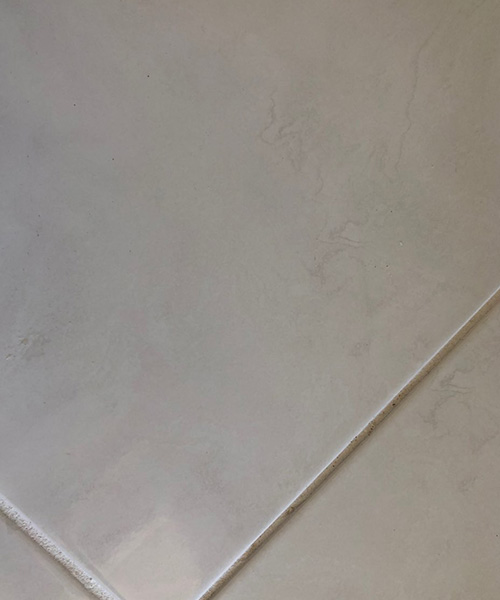
What does a tile repair look like?
Here are some example tile repairs completed by FIX ‘N’ CHIPS. Please be aware that every tile repair is unique, so chat to your local franchisee about what you can expect for your repair.